Bagel Recipe: 5 Secrets to Perfect Homemade Bagels Every Time
Introduction
Let me tell you about my first bagel disaster. There I stood in my kitchen, staring at what looked more like hockey pucks than the plump, golden rounds I’d imagined. The smell of yeast and failure hung heavy in the air. But here’s what I learned through trial and error: creating that perfect bagel—with its crackly crust and cloud-soft interior—isn’t about secret chef skills. It’s about understanding a few simple truths that transform humble ingredients into breakfast magic.
If you’ve ever watched steam rise from a bakery display case and wondered, “Could I do that?”—the answer is a resounding yes. This journey into bagel-making will walk you through every step, from your first sprinkle of yeast to that triumphant moment you pull golden perfection from your oven. Forget intimidation; we’re about to become bagel artists.
Table of Contents
Why Your Kitchen Deserves a Bagel Revolution
Before we dust our counters with flour, let’s talk about why homemade bagels will ruin you for any other kind:
- The “I Made That!” Pride: There’s a special joy in serving something you created from scratch that you simply can’t get from unwrapping a plastic bag.
- Texture Paradise: Imagine a crust that sings when you tap it, giving way to a interior that’s simultaneously dense and airy. That’s what we’re aiming for.
- Your Flavor Playground: Want extra garlic in your everything seasoning? Craving a double dose of cinnamon? You’re the boss.
- Surprisingly Simple Science: While great bagels require patience, the actual hands-on work is surprisingly minimal and deeply satisfying.
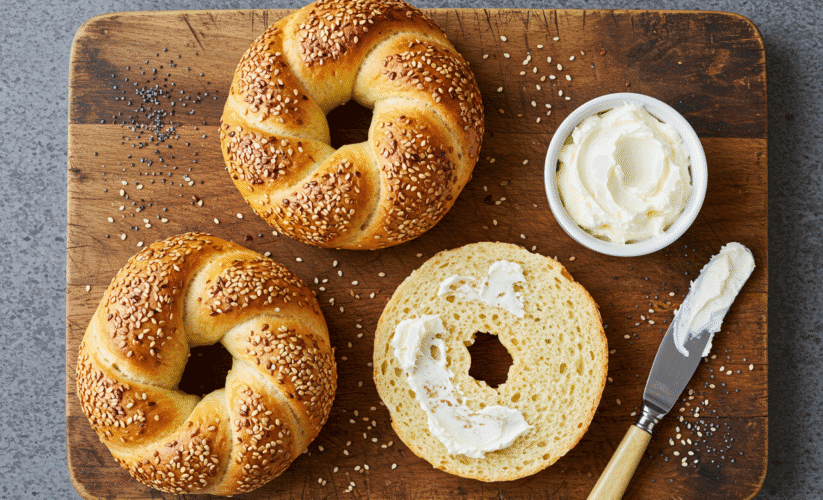
Meet Your Bagel’s Best Friends: The Ingredients Unveiled
Every ingredient in your bagel recipe plays a crucial role. Understanding their purpose transforms you from recipe-follower to confident creator.
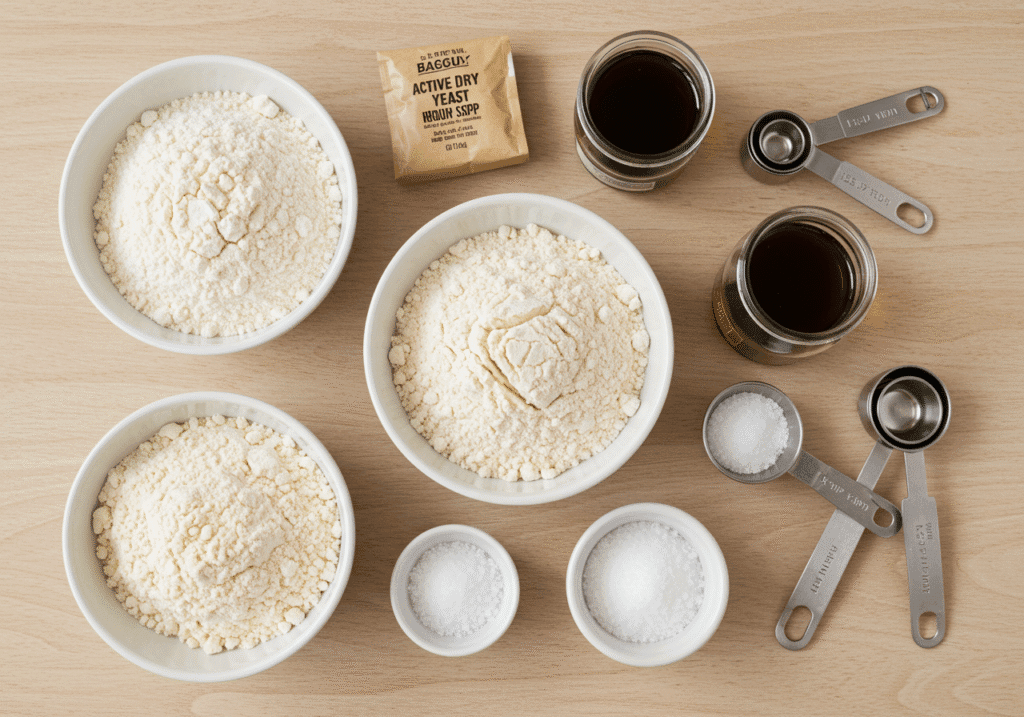
The Foundation Crew
- High-Gluten or Bread Flour (4 ½ cups): This is non-negotiable for that classic chew. The protein content creates the strong gluten network that gives bagels their signature texture.
- Water (1 ⅔ cups, lukewarm): Think baby bottle warm—too hot and you’ll shock the yeast, too cold and it won’t wake up properly.
- Active Dry Yeast (2 ¼ tsp): Your magical leavening agent. Look for a fresh packet for best results.
- Malt Powder or Syrup (3 tbsp): The “why does this taste so authentic?” ingredient. It adds a subtle sweetness and promotes browning.
- Fine Sea Salt (2 tsp): The flavor enhancer that makes all the other ingredients sing in harmony.
The Bagel-Making Ballet: A Step-by-Step Dance
Great bagels can’t be rushed. Set aside an afternoon—the results are worth every minute.
Act I: The Awakening (90 minutes)
- In your mixing bowl, combine the lukewarm water with the yeast and one tablespoon of your malt sweetener. Watch for five minutes as it blossoms into a foamy cloud—this is your signal that the magic has begun.
- Add your flour and salt, then mix with a dough hook for eight glorious minutes. You’ll feel the dough transform from shaggy mess to smooth, elastic ball. If you’re kneading by hand, enjoy the rhythmic therapy of pushing and folding until the dough springs back when poked.
- Tuck your dough ball into a greased bowl, cover it with a clean cloth, and find a warm spot for it to rest. In about 60-90 minutes, it will have doubled, ready for its next transformation.
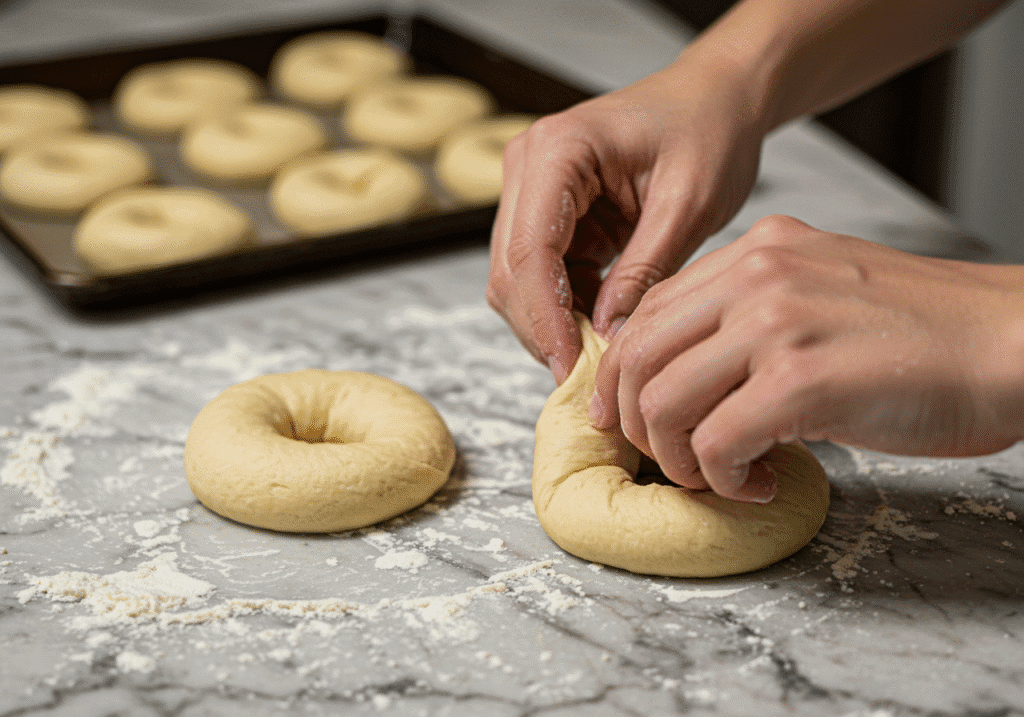
Act II: Shaping Your Dreams (45 minutes)
- Gently deflate your risen dough and turn it onto a floured surface. Divide into eight equal pieces—a kitchen scale ensures perfect twins, but your careful eye works wonders too.
- Here’s my favorite shaping trick: roll each piece into a tight rope about eight inches long, then wrap it around your four fingers. Overlap the ends by an inch and roll gently on the counter to seal, creating that iconic center hole.
- Arrange your shaped bagels on a parchment-lined tray, cover them like precious treasures, and let them puff up for about 30 minutes. Meanwhile, preheat your oven to 425°F (220°C).
Act III: The Transformative Bath (The Bagel’s Secret)
- Fill a wide Dutch oven or pot with about three inches of water and bring to a lively boil. Stir in your remaining malt syrup—it will make the water look like weak tea.
- Gently lower two or three bagels into the bubbling bath. They’ll sink, then float to the surface like happy buoys. Give them 45 seconds per side—this hot bath is what gives bagels their distinctive chew and shiny coat.
- Use a slotted spoon to rescue them, letting excess water drip away before returning them to the baking sheet.
The Grand Finale: Baking to Perfection (20-25 minutes)
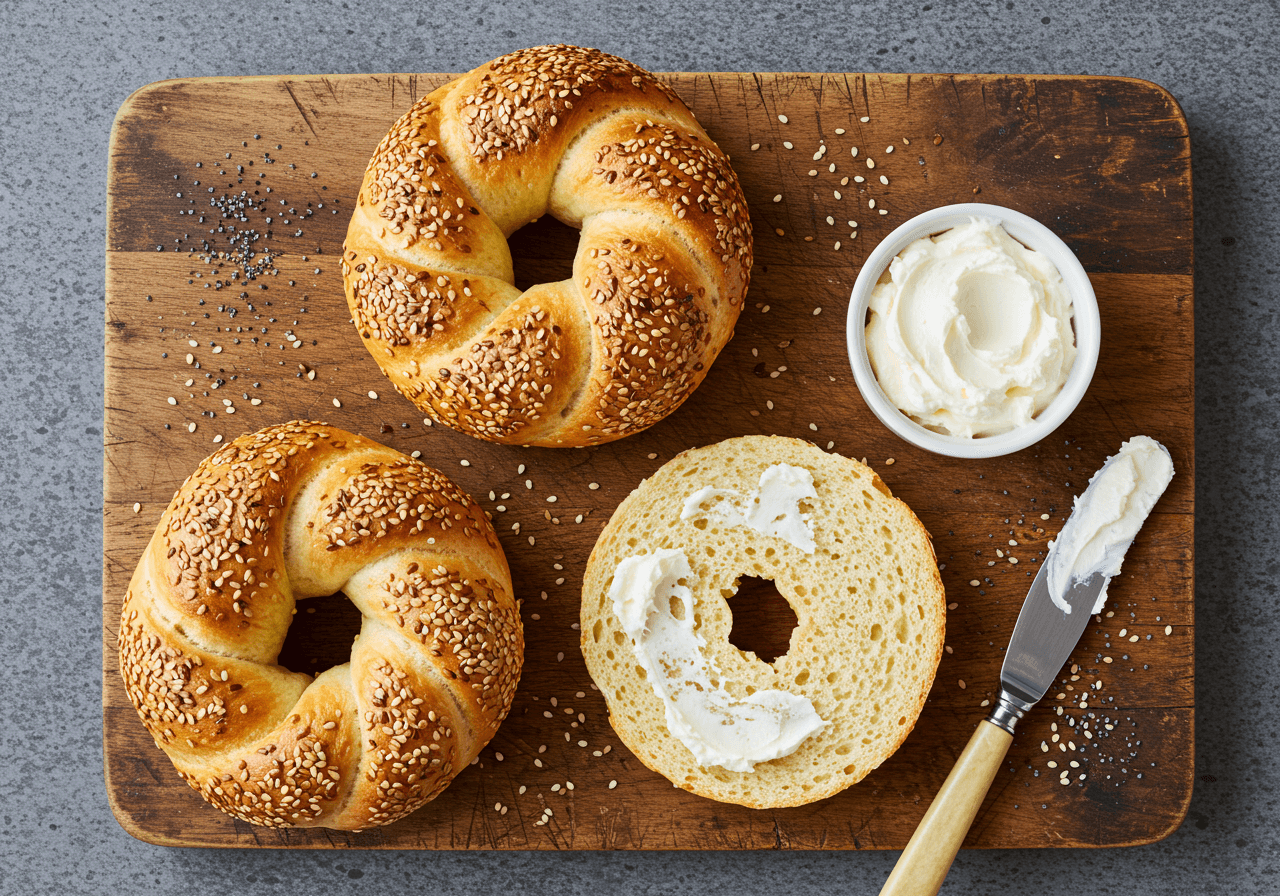
- While your bagels are still glistening from their bath, this is your chance to dress them up! Sprinkle with everything seasoning, sesame seeds, or coarse salt.
- Slide them into your preheated oven and watch the magic happen. In 20-25 minutes, they’ll turn a beautiful deep gold. For extra crunch, rotate your pan halfway through.
- This is the hardest part: let them cool completely on a wire rack before slicing. The steam still working inside makes that irresistible texture.
Beyond Basic: Your Creative Bagel Canvas
Once you’ve mastered the classic, the real fun begins:
- Savory Everything: Mix sesame and poppy seeds with dried garlic, onion, and salt for that deli-classic flavor.
- Sweet Cinnamon Swirl: Roll your dough ropes in cinnamon sugar before shaping for a marbled effect.
- Cheese Lover’s Dream: Press shredded sharp cheddar into the boiled bagels before baking for a crispy, cheesy crown.
Your Bagel Questions—Answered!
1. My dough didn’t rise. What went wrong?
This usually traces back to yeast that’s past its prime or water that was too hot. Yeast is a living organism—treat it gently! Test it first in warm water with a pinch of sugar to ensure it’s active.
2. Can I make these without a stand mixer?
Absolutely! Many bagel purists swear by hand-kneading. It takes about 10-15 minutes of focused kneading to develop the gluten properly. Think of it as your kitchen meditation.
3. Why is the boiling step so crucial?
This is what separates bagels from regular bread. According to baking scientists, the boiling process gelatinizes the starches on the surface, creating that chewy crust and preventing the bagels from rising too much in the oven, giving them their dense texture.
4. How do I store my homemade bagels?
For short-term storage, a bread box or paper bag works beautifully. For longer keeping, slice and freeze them—they’ll toast up perfectly straight from the freezer, tasting as fresh as the day you made them.
5. Can I create a sourdough bagel version?
You can! Replace the yeast with 200 grams of active sourdough starter and reduce the water to about 1 ¼ cups. The process takes longer but rewards you with incredible depth of flavor.
Conclusion
From that first foamy yeast activation to the final golden bake, you’ve now traveled the complete journey of bagel creation. What once seemed mysterious is now a series of manageable, magical steps you can recreate anytime the craving strikes. These aren’t just bagels—they’re edible proof that patience and practice create something extraordinary.
I’m genuinely excited to see what you create! Did you discover a new favorite shaping technique? Invent a revolutionary topping? Share your bagel stories and photos in the comments—your experience might inspire another first-time baker to take the leap. And if this guide helped you find your baking confidence, pass it along to someone who needs a little kitchen courage today.
Author Bio: Nora is a self-taught baker and culinary storyteller who found peace in the rhythm of kneading dough. After transforming her own bagel failures into triumphs, she now dedicates her time to helping kitchen newcomers discover the joy of from-scratch baking.