The Ultimate Guide to Crafting Your Own Sourdough Starter: 7 Expert Tips for Success
Introduction: Debunking Sourdough Myths
Did you know that approximately 68% of first-time sourdough attempts fail within the first week? Many aspiring bakers believe creating a perfect sourdough starter requires scientific precision or special equipment. The truth is dramatically different. Crafting an active, vibrant sourdough starter is less about precision and more about understanding the natural fermentation process. This comprehensive guide reveals seven transformative tips that will help you create and maintain the perfect homemade sourdough starter, even if you’ve failed before.
Table of Contents
Essential Ingredients for Success
Creating your sourdough starter requires just two fundamental ingredients, but quality matters immensely:
- Flour Selection (500g total for initial setup):
- Whole grain rye or spelt flour (200g): These flour varieties contain more natural yeasts and minerals, providing an excellent foundation for your microbial community
- Unbleached bread flour (300g): Provides the necessary gluten structure and consistent feeding for mature starter maintenance
- Water Quality (500g):
- Filtered or spring water is ideal
- Avoid chlorinated tap water as chlorine inhibits microbial growth
- Lukewarm temperature (approximately 75-80°F or 24-27°C) optimizes fermentation
Time Investment: Patience Required
Understanding the timeline is crucial for sourdough success:
- Daily active time: 10-15 minutes
- Total maturation period: 7-14 days
- Key insight: The process can’t be rushed because you’re cultivating wild yeast populations that need time to establish dominance over less desirable bacteria
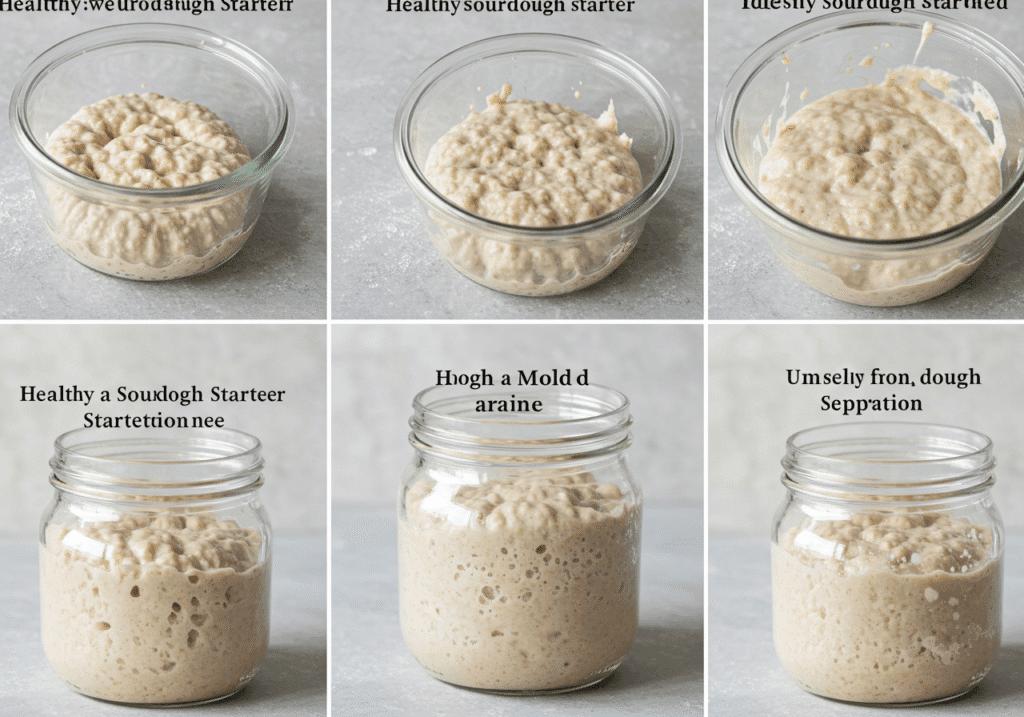
Step-by-Step Creation Process
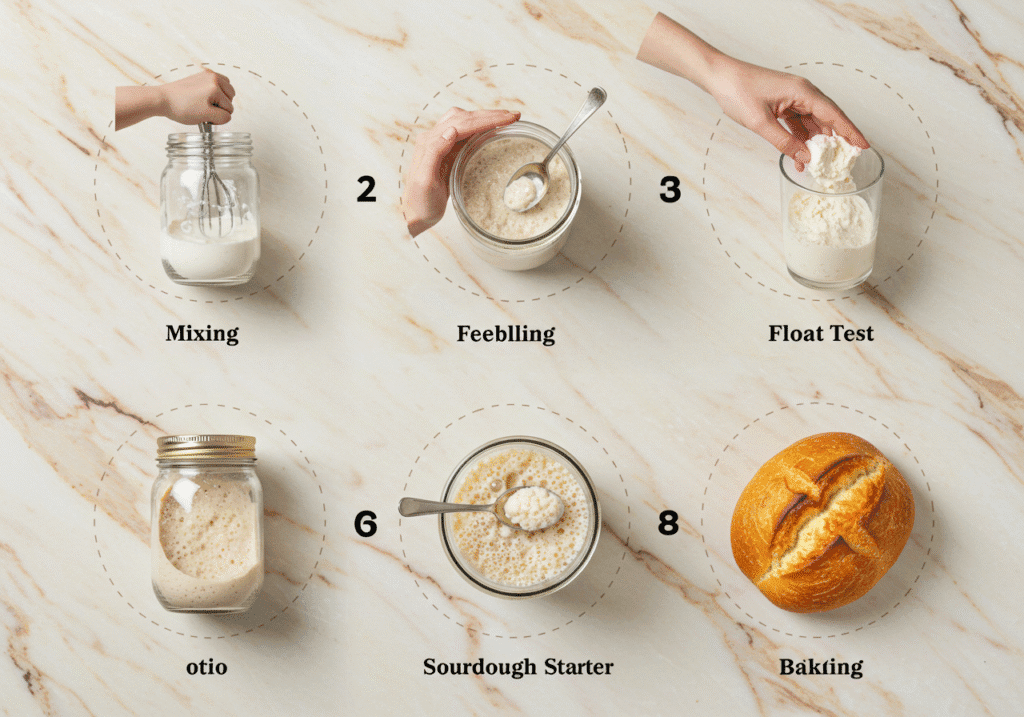
Day 1: Initial Mix
Combine 100g whole grain flour with 100g lukewarm water in a clean glass container. Mix thoroughly until no dry flour remains. Cover loosely with a breathable lid or cloth and store in a warm location (70-75°F ideal).
Days 2-3: Early Development
You may notice some bubbling activity and possibly a slightly unpleasant odor. This is normal as various microbial communities establish themselves. Continue daily feedings with equal parts flour and water.
Days 4-7: Microbial Shift
This is when most starters go through a “slump” period where activity appears to decrease. This signals that the beneficial yeasts are beginning to dominate. Maintain consistent feeding schedule.
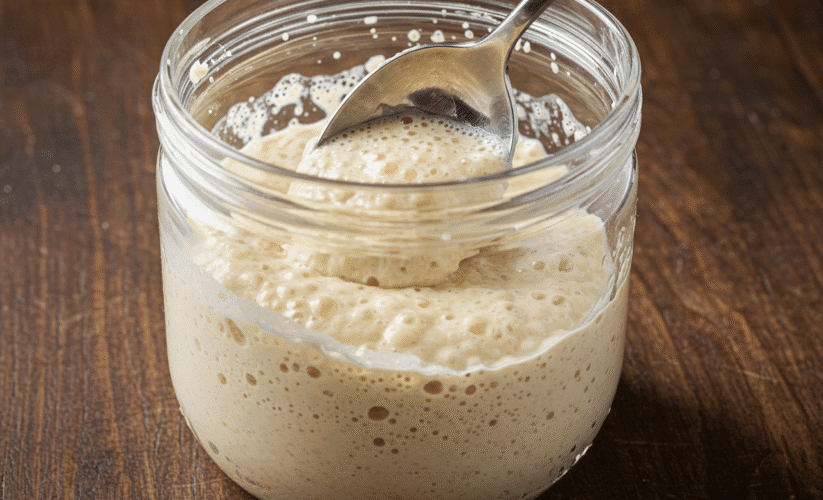
Days 8-14: Maturation
Your starter should now show consistent bubbling activity and a pleasant, slightly alcoholic aroma. It should reliably double in size within 4-8 hours of feeding.
Nutritional Benefits Explained
A mature sourdough starter offers numerous health advantages:
- Improved nutrient bioavailability: The fermentation process breaks down phytic acid, making minerals more accessible
- Natural probiotics: Contains beneficial bacteria that support gut health
- Lower glycemic impact: Sourdough fermentation results in slower carbohydrate digestion
- Enhanced digestibility: The long fermentation process pre-digests some gluten proteins
Advanced Variations and Adaptations
Gluten-Free Alternative
Create a vibrant gluten-free starter using brown rice flour and buckwheat flour. The process remains identical, though fermentation times may vary slightly.
Whole Grain Emphasis
Maintain your starter using 100% whole grain flour for increased microbial diversity and nutritional benefits.
Temperature Variations
Adjust feeding schedules based on ambient temperature: more frequent feedings in warm environments, less frequent in cooler conditions.
Creative Utilization Ideas
Beyond traditional bread baking, your sourdough starter can be used in numerous applications:
- Discard recipes: Transform leftover starter into crackers, pancakes, or waffles
- Specialty breads: Experiment with different flour combinations and hydration levels
- Fermented foods: Use starter as a base for other fermentation projects
Common Pitfalls and Solutions
Problem: Starter shows no activity after 5 days
Solution: Ensure consistent temperature and try using bottled spring water
Problem: Brown liquid (hooch) forms on surface
Solution: This indicates hunger – simply mix it in and increase feeding frequency
Problem: Unpleasant ammonia smell
Solution: The starter needs more frequent feedings to balance acidity
Storage and Maintenance Guidelines
For active bakers: Keep at room temperature with daily feedings
For occasional use: Store in refrigerator with weekly feedings
Long-term storage: Dry starter can be preserved for months and reactivated with water and flour
Conclusion: Your Sourdough Journey Begins
Creating and maintaining a perfect sourdough starter is an incredibly rewarding process that connects you to ancient baking traditions. By following these seven essential tips and understanding the science behind fermentation, you’ll be well on your way to baking exceptional sourdough bread. Remember that each starter develops its own unique characteristics based on your environment and feeding routine.
Ready to transform your baking? Start your sourdough journey today and share your progress with our community using #SourdoughSuccess. For more detailed baking guides and recipes, explore our Msemen Mahchi.
Frequently Asked Questions
Q: How do I know if my starter has gone bad?
A: While unusual colors (pink, orange) indicate spoilage, most unusual smells are normal during early development. Trust the process unless you see visible mold.
Q: Can I use tap water for my starter?
A: Chlorinated water can inhibit microbial growth. If using tap water, let it sit uncovered for 24 hours to allow chlorine to evaporate.
Q: Why does my starter seem inactive after refrigerating?
A: Cold temperatures slow microbial activity. Allow 2-3 feedings at room temperature to restore full activity after refrigeration.
Q: How much starter should I maintain?
A: For home bakers, maintaining 100-150g of total starter is usually sufficient and reduces flour waste.